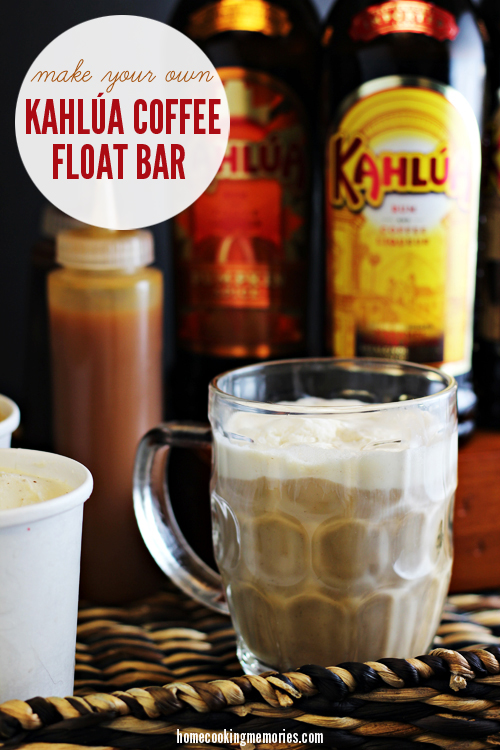
It’s a drink…it’s a dessert…it’s delicioso! Here’s how to put together your own DIY Kahlúa Coffee Float Bar for your next party or holiday get-together.
Disclosure: This is a sponsored conversation written by me on behalf of Kahlúa.
With the holidays right around the corner, now is the time to make the final plans for any get-togethers you might have. In our house, we don’t do a lot of entertaining, but we have a few times that we’ll casually hang out with family and friends. For those get-togethers, I like to be prepared. I try to have a few fun ideas planned — foods and drinks that they will remember — and hopefully something they won’t experience at other holiday events they attend.
One idea that I think does exactly that is a do-it-yourself Kahlúa Coffee Float Bar. Your guests might be expecting coffee to be served at your house, but I doubt they will expect Kahlúa, coffee, AND ice cream all together. The hot coffee mingles with the Kahlúa, while melting the ice cream just enough to add both sweetness and creaminess.
Putting together a DIY Kahlúa Coffee Float Bar is simple. Pick a space in your home where you can set up. For me, it worked best in our kitchen and I placed most of the ingredients on a large rectangle tray. The tray also serve as a great way of keeping everything contained, which is useful if you have other foods or beverage being served.
To add visual interest to the display, I placed three different varieties of Kahlúa (Original Kahlúa, Pumpkin Spice Kahlúa, and French Vanilla Kahlúa), on top of a wooden box. It gave height to the bottles since they were the star of the show, plus made it easier for my guests to pick up the flavor they want to add to their coffee float.
For ice cream, we went with three flavors: vanilla, chocolate, and coffee. Rather than placing large containers of ice cream out, I repacked each flavor into disposable pint sized containers that I picked up at a restaurant supply store. I did this a few days beforehand to give the ice cream plenty of time to refreeze. As my guests finished one of the flavors, I was able to quickly discard of the container and pull another one out from the freezer. They were also easy to place back in the freezer when guests were finished making their coffee floats.
You’ll need a fresh pot of coffee brewed, so right before your guests arrive, make a pot of your favorite variety. If you will be having a large group, it might be a good idea to borrow an extra coffee maker, or have a dispenser handy that you can pour your coffee into to free up your carafe for brewing a second pot. Also, don’t worry if your coffee cools off a bit — while the idea is to use hot coffee, a Kahlúa Coffee Float is still awesome with warm coffee.
Since this Kahlúa Coffee Float Bar is do-it-yourself style, most of my guests poured their own perfect amount of Kahlúa and coffee into their cups. There were some who preferred a more precise measurement and, for those, I recommended 1 part of Kahlúa Coffee Liqueur to 3 parts hot coffee. For our mugs, this worked out to be about 2 ounces of Kahlúa and 6 ounces of coffee — plus however much ice cream each person wanted.
To make your Kahlúa Coffee Float, add a scoop or two of ice cream to your mug and then add your Kahlúa and hot coffee.
Of course, there is no right or wrong way to make it, so if you prefer, you can also add your ice cream last.
If you like syrups, you can top it with your choice of chocolate or caramel syrup…or both. We decided to skip the whipped cream for our Kahlúa Coffee Float Bar, but it would make a welcome addition.
That’s all there is to it! I told you it was easy. Don’t spend all your time in the kitchen when you can do something like this that your friends and family will love, but let’s you relax too. Pull this together for your next get-together and let the memory-making fun begin!
Want more holiday recipes and ideas? Be sure to follow Kahlúa on Facebook and Pinterest.