We’ve been watching Top Chef: Just Desserts together as a family. We tend to watch quite a few competition cooking shows together as a family, but this one seems to be a top favorite. The kids will watch it and constantly make comments like “oh, that looks SO good!” or “I WANT THAT!”. As someone who loves watching food shows, I enjoy seeing their enthusiasm. As we sit and watch, lots of conversations come up – discussing how the chef’s do what they do, sharing our thoughts on what we think they could have done better, and talking about our own ideas.
One of the things that the kids are realizing more and more is that cooking – particularly baking and candy making – has a lot to do with science. And, this is making science more interesting to them. That’s how learning happens in our home – we are homeschoolers and much of our learning by these everyday discussions. Our life allows for plenty of room for spontaneous learning about whatever might interest them in the given moment.
The most recent example of this is while watching the first episode of Top Chef: Just Desserts, we talked a lot about working with sugar. There was a green vine on the Jack & the Beanstalk display. The vine was hard candy – it would remind you of a big lollipop. It cracked and that prompted talk about the various stages of sugar – how are there some candies that are jelly-like and chewy and others that would shatter if you dropped them?
We decided a science project was in order to learn more about the stages of sugar. We also started talking about the scientific method and how it works. Mattie and Courtney decided the first step was to research and investigate. One of the first places we check out was ScienceBuddies.org – there was found a science project called The Sweet Beginnings of Caramelization. We liked their idea of using spoons to sample the different candy stages and decided to go with this. We didn’t stop there though. We read up on lots of other information, such as this article on the Science of Candy: Caramelization and Caramel: A delicious science experiment.
We learned a lot from these resources and the kids learned that sugar + heat is the road to caramelization, but they still had one main question: what happens to sugar while it’s being heated? How does sugar look at each temperature? It seemed to them that there was only small differences in the candy stage temperatures, but they were doubtful that they would make THAT much of a difference. Both Mattie and Courtney decided that there wouldn’t be a major noticeable difference with the sugar between the various stages/temperatures. Would they be right?
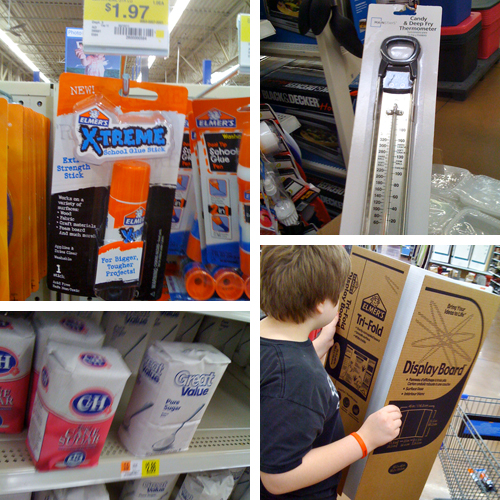
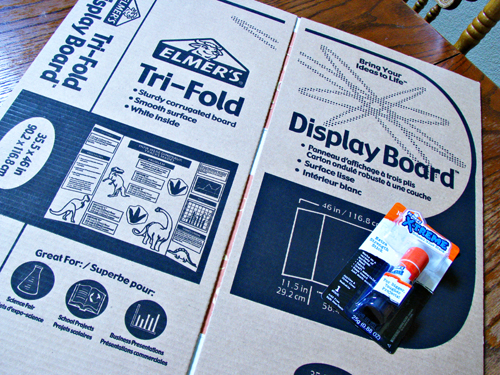
We were on our way to find out the answers to these questions. I created a shopping list for our science project. I needed sugar, but also an Elmer’s Tri-fold display board, and an Elmer’s X-TREME School Glue Stick. I also needed a candy thermometer. I’ve never owned one but knew it was essential that we had one for this project. I headed off to our local Walmart to pick up everything I needed.
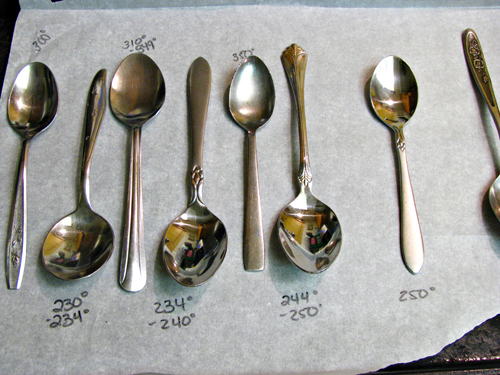
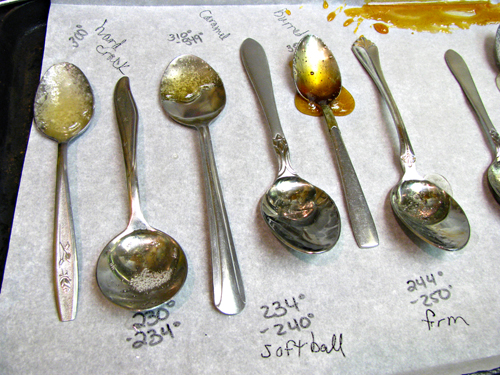
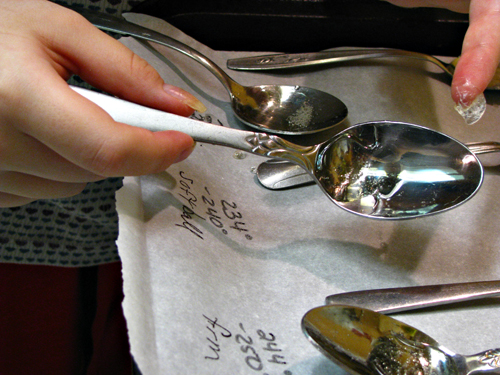
When we returned home, we got started on our project. First, we lined a baking sheet with parchment paper and laid 8 spoons on it. We labeled each spoon with the different temperature stages of candy making.
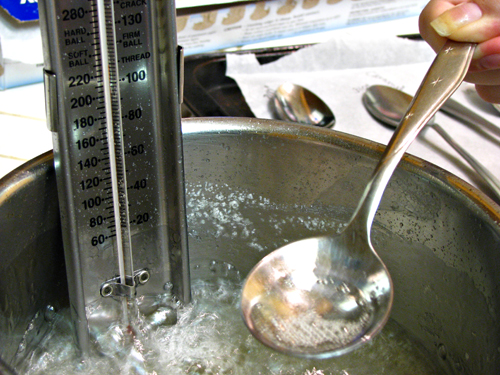
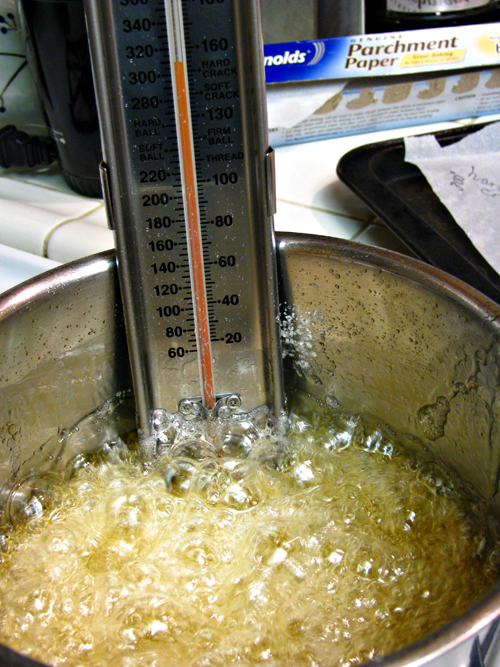
Then, we combined 1 1/3 cup sugar with 2/3 cup water in a heavy bottomed pot. We clipped the candy thermometer to the side of the pan.
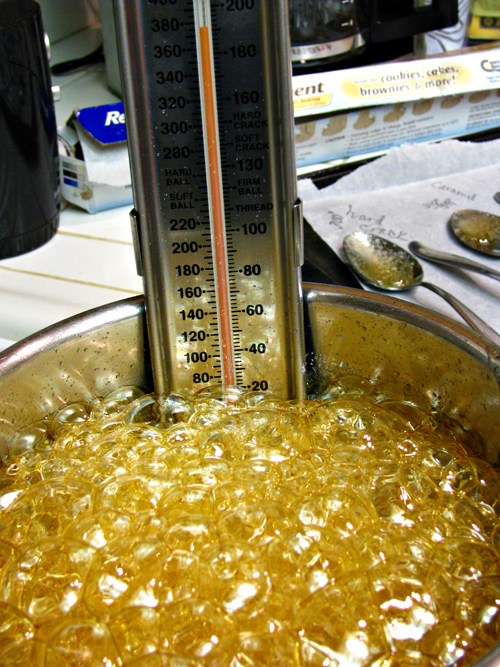
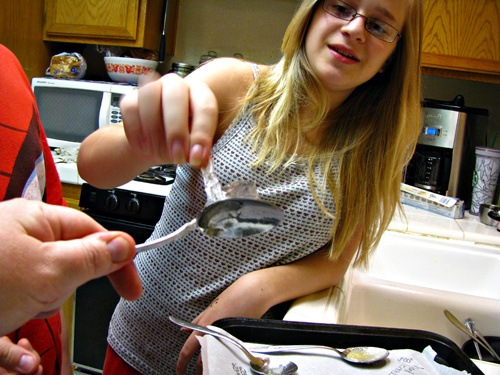
We heated the mixture over high heat and once the sugar was fully dissolved, we stopped stirring it. As it boiled, we kept watch on the candy thermometer and once it hit the first stage called the “thread stage” (230 – 233 degrees F), we used the spoon (that we labeled with this temp) to carefully scoop out some of the mixture.
We repeated this same procedure as the sugar reached the various candy stages. It was about this point, where the sugar started changing colors that the kids both commented that it was smelling really good!
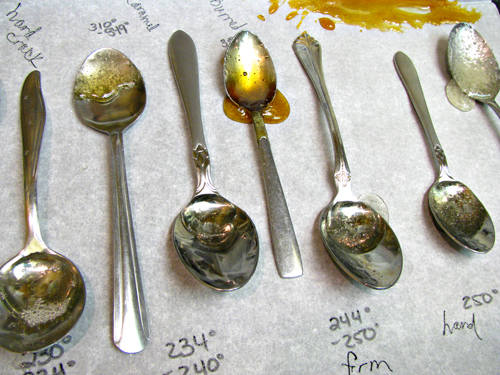
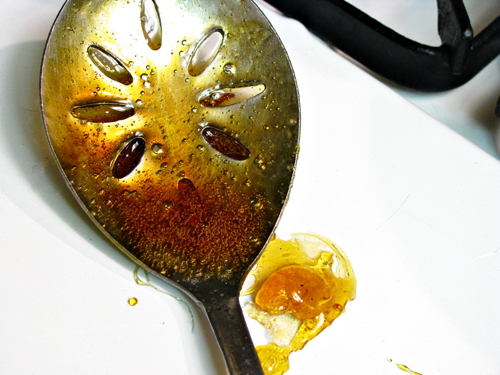
Unfortunately, this photo shows what we thought was the point of caramelization. Well, it kinda was, it was at 310 degrees, but it was too soon. I took this photo below and we sampled it, but as as we let it cook for another 10-20 degrees (so, 320-330 degrees F) it became even MORE wonderfully smelling and the color was a deeper amber. So, in other words, we missed the perfect point of caramelization with our spoons and photos.
This was an excellent lesson though in testing the hypothesis. It helped the kids to see that the temperatures did make a huge difference.
We continued on and we purposely let the sugar cook extra long to see what would happen to it compared to our test samples. In this photo below, it was about 370 degrees F and started giving off a burnt smell. Ick.
My spoon with the burnt sugar.
Here is our tray of sugar sampled spoons. They run left to right on the bottom and then continue left to right on the top – ending with the darkest spoon which would be the start of burning.
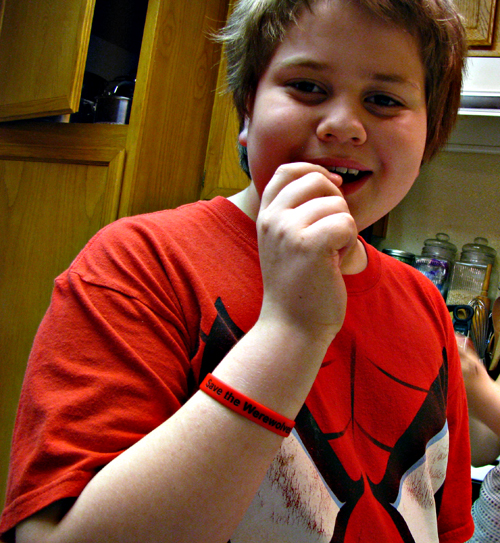
We then proceeded to sample each spoon. We asked several questions about each spoon: how does it feel? how does it smell? how does it look?
And, most importantly, how does it taste?
As we went through all the spoons, we jotted down our thoughts on all of these questions. Here is some of what we thought:
- Thread (230-234°F) – this was like a thick syrup, kind of like pancake syrup, maybe thicker. Tasted good. Super sticky, can be messy.
- Soft Ball (234-240°F) – this was soft & sticky. More firm than the thread stage, also tasted good.
- Firm Ball (244-250°F) – much more thick, but still soft enough to chew. Stuck to our teeth a lot!
- Hard Ball (250°F) – this was the chewiest, and stuck to our teeth the most!
- Soft Crack (270°F) – Our favorite, it was firmer, but not so hard that it felt like it would break your teeth. Started having an even better taste.
- Hard Crack Stage (300°F) – this is where they were starting to get really hard! Can’t made a mark in it with fingernail. Kind of like a lollipop
- Caramel Stage (310-349°F) – this is where we notice more of a color change, it also cracked more on our spoon. Flavor more interesting.
- Burned Stage (350°F + ) – At 350 the burning wasn’t *horrible*, but flavor was more bitter. At 370°F and up, it became inedible to us.
After sampling the spoons and making our notes, both Mattie and Courtney agreed that the temperatures make a HUGE difference when it comes to sugar. They were very surprised at how quickly the sugar changed as they temperature rose. So, unfortunately, their hypothesis was incorrect, but they still had lot of tasty fun testing it all out!
Now that we had our answers, we started working on our display board.
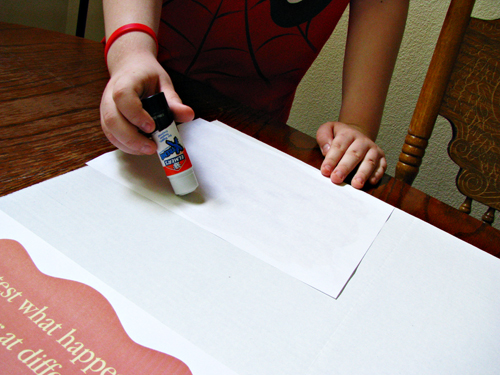
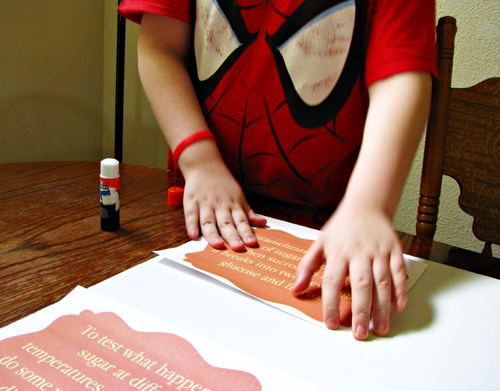
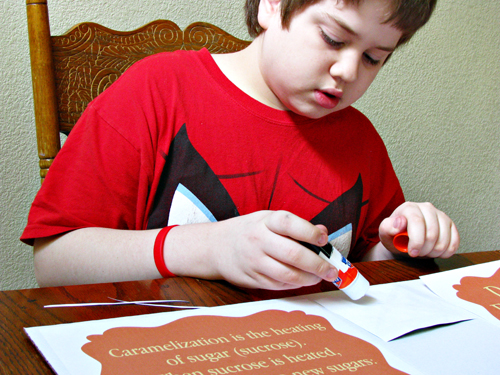
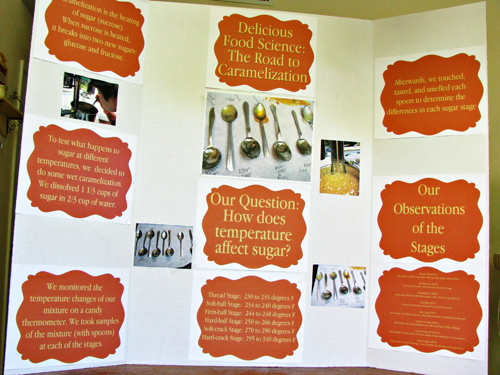
We used our computer and created labels and signs with our data. We used the Elmer’s X-TREME School Glue Stick to glue our signs to our the Elmer’s Tri-Fold Display Board.
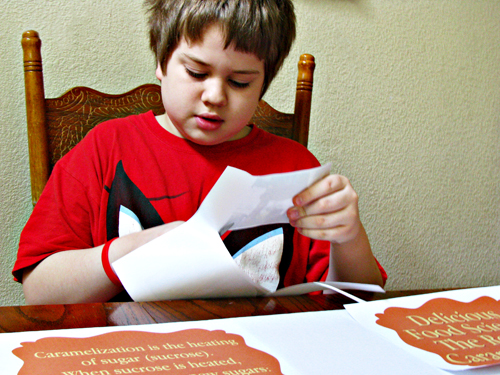
I printed out some of the photos we took and Mattie cut them to include on our science display board.
Mattie glued the photos to the display board — I did wonder if the X-TREME School Glue Stick would work well with our photo paper, as I’ve used glue sticks before and they photo end up coming off, but it worked great, even after it dried.
And here was our finished board. The kids had a lot of fun with this project and are eager to get started on another food science project – they want to do rock candy next. What’s a favorite science project you’ve done?
I created a ThisMoment slideshow with more photos if you are interested.
This project has been compensated as part of a social shopper insights study for #ElmersScienceReady #collectivebias. All the thoughts and opinions in this blog posts are 100% my own.



Allison @ thebakingyear says
Check out my post on caramelization! http://thebakingyear.wordpress.com/2013/12/10/chocolate-cookies-nutella-caramel-sauce/
greg zywicki says
Here’s an experiment that takes things a step further:
http://www.lehigh.edu/~inmatsci/faculty/jain/candy_making.pdf
Super-interesting discussions of glass and crystalisation and materials science in general.