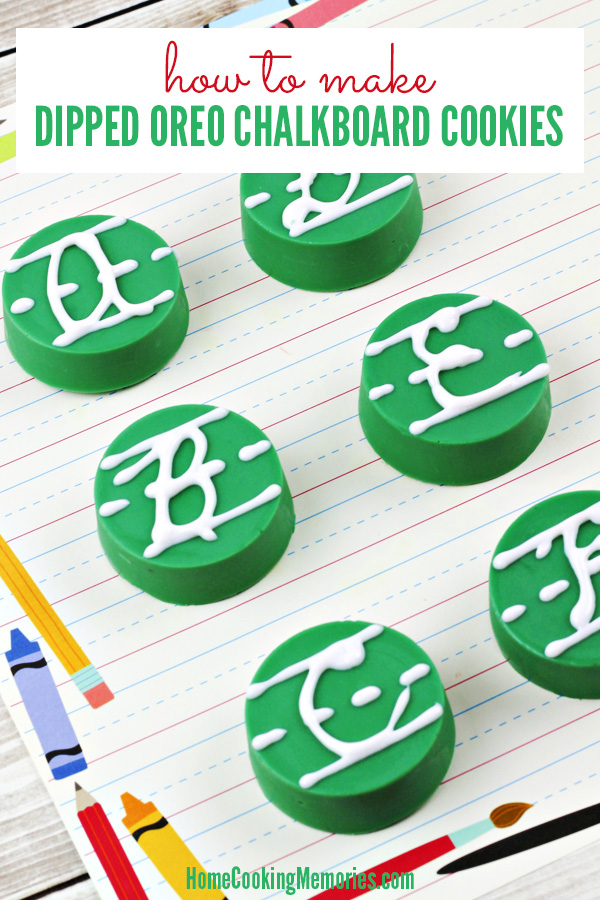
This Dipped OREO Chalkboard Cookies recipe is easy to make and so much fun for back-to-school, bake sales, or classroom parties.
It’s not like OREO’s need anything to make them better. They’re pretty great all on their own. But, take an OREO and make them into other desserts and treats and you’ve got yourself something extra special. Between cookies & cream ice cream, OREO cheesecakes, OREO donuts and much more, there’s plenty of ways to take the simple OREO cookie and make it into something even more amazing.
Today, we’re sharing an easy treat that can be made with OREO cookies: Dipped OREO Chalkboard Cookies. These cookies are so cute and so much fun for back-to-school, teacher gifts, bake sales, or classroom parties. The green candy melts give the OREO’s the look of a classroom chalkboard, with the white writing looking like it’s been written in chalk. This post contains some affiliate links for your convenience. Click here to read my full disclosure policy.
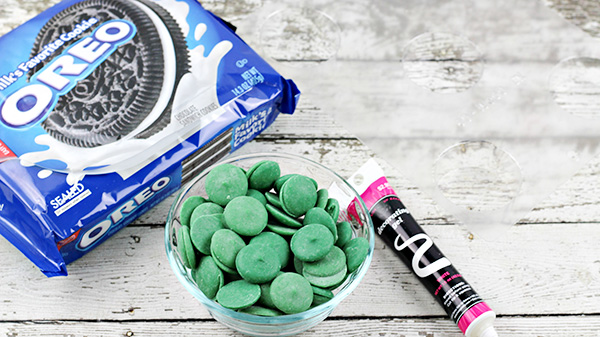
You’ll only need 5 things: a candy mold, OREO’s, shortening (or coconut oil), candy melts, and decorating icing gel. It’s hard to see in the image below, but this candy mold is the PERFECT size for making dipped or chocolate covered OREO’s. If you want to speed up your process, you may want to buy more than 1 of them since it only makes 5 at a time.
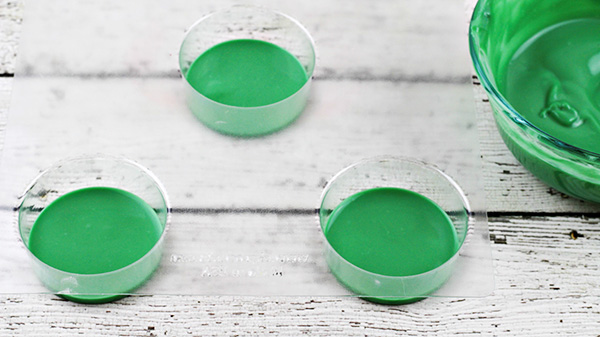
To get started, you’ll melt together the Wilton Dark Green Candy Melts and a bit of shortening or coconut oil. Add about 2 tablespoons of the melted candy melts into the bottom of each mold.
Next, lay an OREO cookie on top of the melted candy melts. You don’t need to press it in, just lay it centered in the mold on top of the melted mixture.
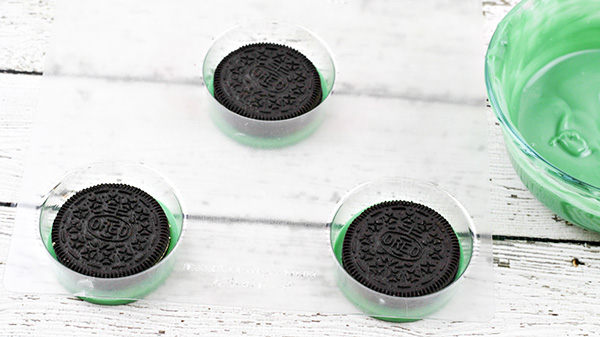
Top the OREO cookies with more of the melted candy melts until they are completely covered. Be sure to top each one with about the same amount of mixture (so that they are uniform size) and don’t exceed the top of the candy mold or you’ll end up with a mess. Place in the refrigerator for about 2 hours.

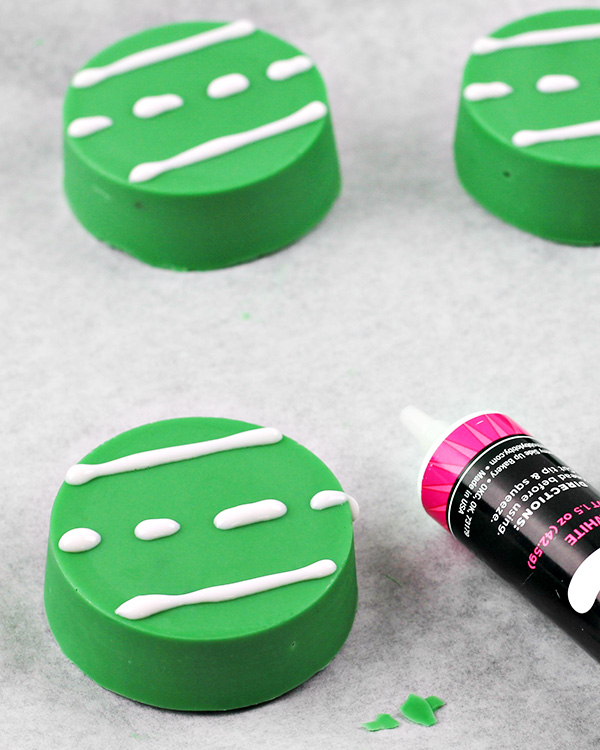
When the OREO cookies are set (firm), remove them from the refrigerator and pop them carefully out of their mold. Place them on wax paper or parchment paper so that you can decorate them. Using a tube of white decorating gel, pipe a solid line across the top and bottom of each Oreo. Pipe a dotted line across the middle of each cookie. Let these lines “set” for about 10-15 minutes to firm up a bit.
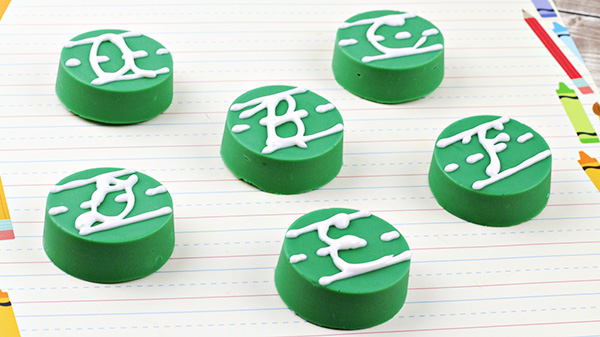
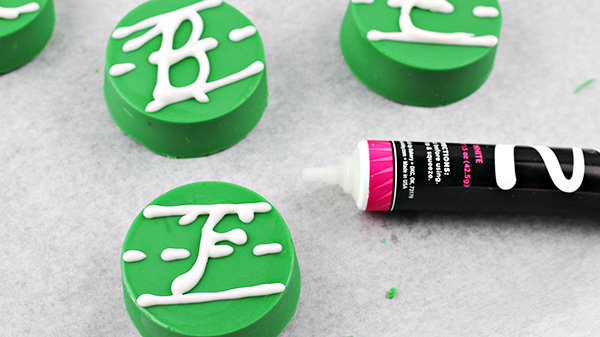
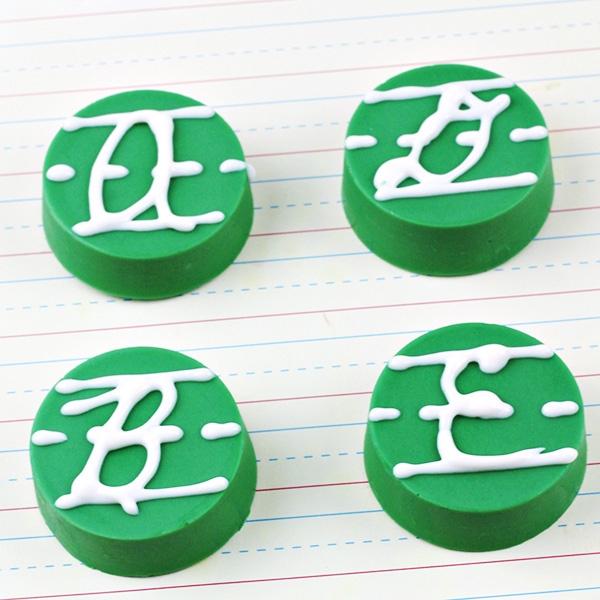
Using your best penmanship, “write” (pipe) your favorite letters on each cookie. You could do cursive letters or print letters. Uppercase letters fit best, but you could do lowercase letters if you prefer. If you don’t feel comfortable with your writing, it can be helpful to look up examples of penmanship online as a reference.
If you are making the cookies for someone special, you could do just the first letter of their first name or all the letters of their name. Or you could do the letters that spell out a special message. If these are for a bake sale or classroom party, you might want to the entire alphabet.
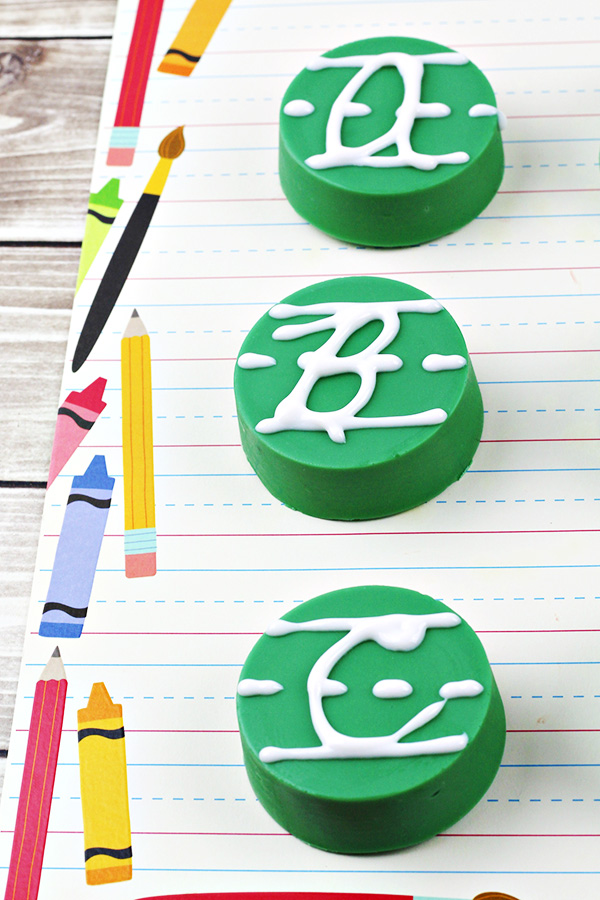
After “writing” the letters, allow the gel to harden for at least 10-15 minutes.
And they’re done and ready to be enjoyed!
Dipped OREO Chalkboard Cookies Recipe
Print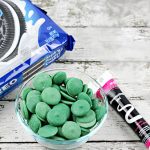
Dipped OREO Chalkboard Cookies Recipe
Description
This Dipped OREO Chalkboard Cookies recipe is easy to make and so much fun for back-to-school, bake sales, or classroom parties.
Ingredients
- Candy/Cookie mold (sized for OREO cookies)
- 12 regular size OREO cookies
- 2 tablespoons solid shortening or coconut oil
- 1 cup Wilton dark green candy melts
- in White icing gel a tube
Instructions
- In a microwave sale bowl, melt the shortening and green candy melts together in the microwave according to package instructions.
- Add 2 tablespoons of the melted green candy melts into each mold.
- Lay an Oreo cookie on top of the melted chocolate.
- Spoon additional melted chocolate on top of each OREO, filling to the top of each mold. Chill for at least 2 hours.
- After chilling, line a baking sheet with wax or parchment paper. Gently pop the OREO’s out of their mold and lay on baking sheet.
- With the white tube of icing gel, pipe a solid line across the top and bottom of each OREO. Pipe a dotted line across the middle of each cookie. Let “set” for 10 minutes to harden a bit.
- Using your best penmanship, pipe your favorite capital letters on each cookie. Allow to harden for 10-15 minutes.
- Category: Cookies
- Method: Microwave
- Cuisine: American
sheri says
Fun idea. Thank you for joining the To Grandma’s House We Go DIY, Crafts, Recipes and More Link Party! Pinned this! Hope to see you again next week!
Michele says
These are adorable!! What a great idea. So perfect for back to school time!
Amy says
I love this idea. Thank you for sharing at Over The Moon.
Irene says
What a great idea for teachers’ gifts, so cute!
Helen at the Lazy Gastronome says
What a fun back to school treat! Thanks for sharing at the What’s for Dinner party – have a fabulous week!
Laura says
These are adorable and perfect for a back to school treat! Thanks for linking up to The Creative Exchange. We are featuring your project this week.
xo,
Laura
Ana - Camara espia says
Thanks for your mail!! It is a great idea but I think that put well the letters is very difficult. I try it!! Thanks!!
Monroe | Sew Crafty Crochet says
What a cute and fun snack!!
Elle says
These are absolutely adorable! I love chalkboard things <3 Pinned & Yummed 🙂