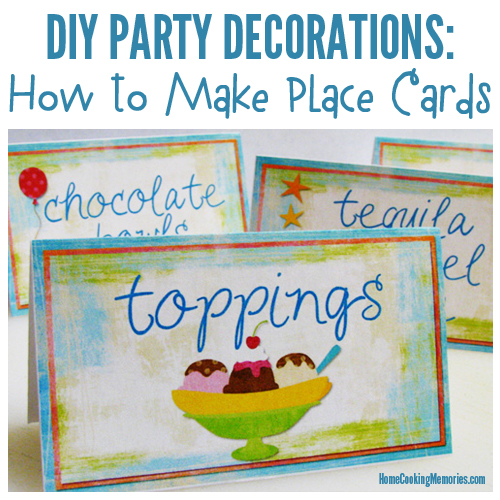
DIY party decorations, such as these place cards (or table cards), are a fun way to assign seating or name the foods on your buffet table. By making your own, you have complete control over the look of your party, holiday, or event. This tutorial will how you how to make your own.
Here’s how to make your own place cards or table cards:
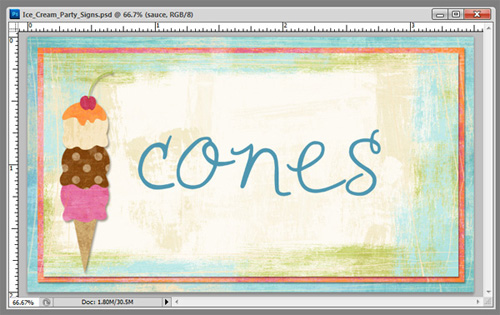
I decided the best size for my place cards was 3.5″ wide by 2″ tall. This is the size of a typical business card so I knew this would work well for me. In Photoshop, I created a new document sized 3.5″ by 2″ at 300dpi. I designed the front of my card with digital scrapbooking supplies and fonts. I repeated these steps to make all the different cards I needed.
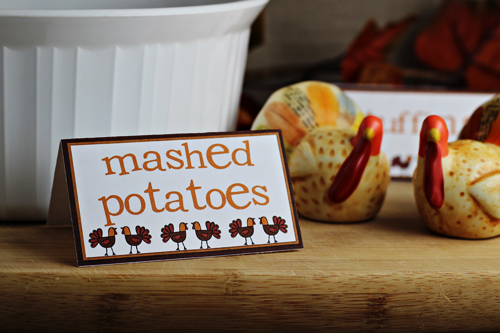
If you are making wedding place cards, you may add names or other text. If you are using these on a buffet table, you would make a card for the different dishes available.
Don’t have Photoshop? Try similar steps in your favorite photo processing software, or check out Photoshop alternatives, such as Pixlr or GIMP. You can also create these completely by hand.
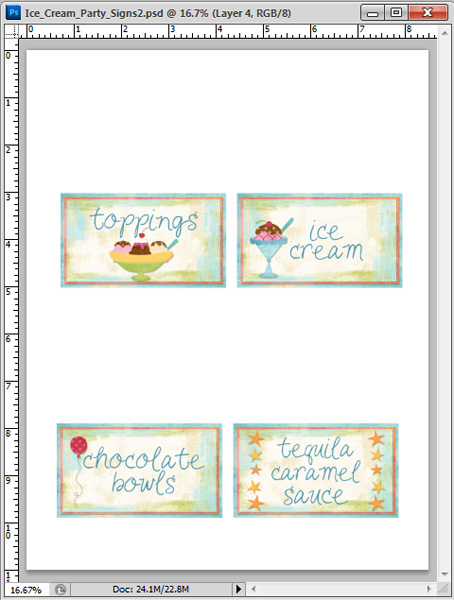
After designing the cards I needed, I created a new document sized 8.5″ x 11″ at 300dpi in Photoshop. I added four of the cards to the new document, spaced so that there was an even amount of space at the very top of each card. Then, I printed the sheet of four cards on my home printer on a sheet of white cardstock.
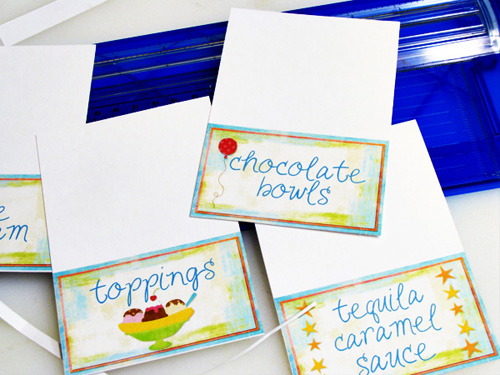
With a paper trimmer, I cut out the cards, but left the blank white space at the top attached. I do this by trimmings the bottoms of each card first, and then the sides. It’s not important in this step that the blank white top portion is the same size at the front of the card – I’ll be trimming it later.
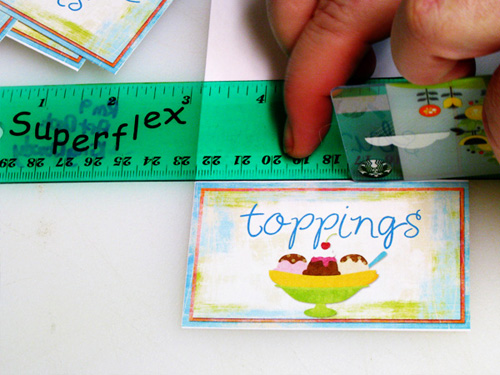
I placed the edge of a ruler at the very top of the card design. Then, using the corner of an old plastic gift card, I scored the card where it will be folded. The proper tool for this is a bone folder tool, but I don’t have one so I used the gift card instead (if you are creating these for a wedding or other formal event, you will probably want to use the bone folder tool). The scoring will create a pressed “line” in the cardstock which will help in the folding of the card.
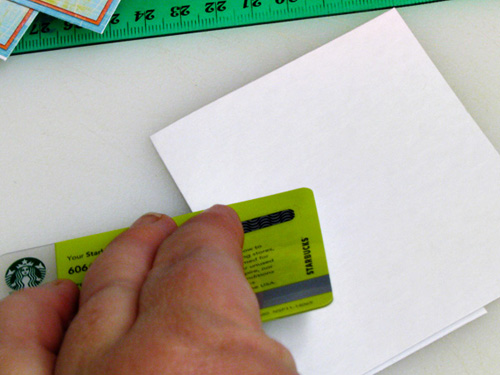
I folded the card where the crease was made. Then, with the card folded, I laid it down on my surface and I ran the same plastic gift card across the top portion of the card (near the fold) to help create a more defined fold at the top of the card. I flipped the card over and did this on both sides at the fold.
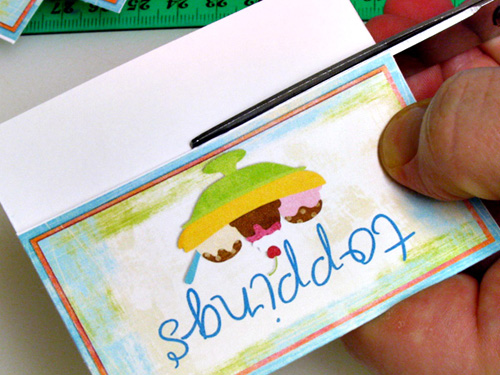
With the card folded, I trimmed the excess cardstock off from the bottom. You could do this with the paper trimmer, I found scissors worked well for me here.
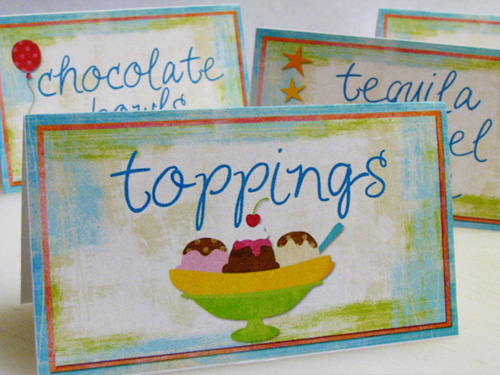
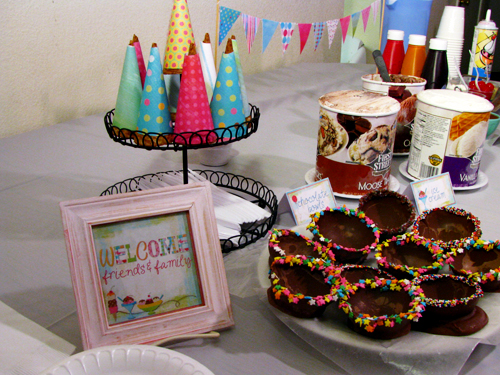
I repeated these steps with all my cards and was able to set them out during my ice cream party.
I hope this helps you to make your own creative place cards or table cards for an event. Even if you don’t usually use place cards for your parties, this is a fun way to fancy up small events or get-togethers. While you’re here, be sure to check out my Ice Cream Sundae Party post!
If you want Thanksgiving place cards, and don’t want to make your own, I have free printable Thankgiving Place Cards for you.
Source: My Ice Cream Party place cards use Make a Wish Digital Scrapbooking Kit from Erica Hite and Thoughtful Font from Amanda McGee
Leave a Reply