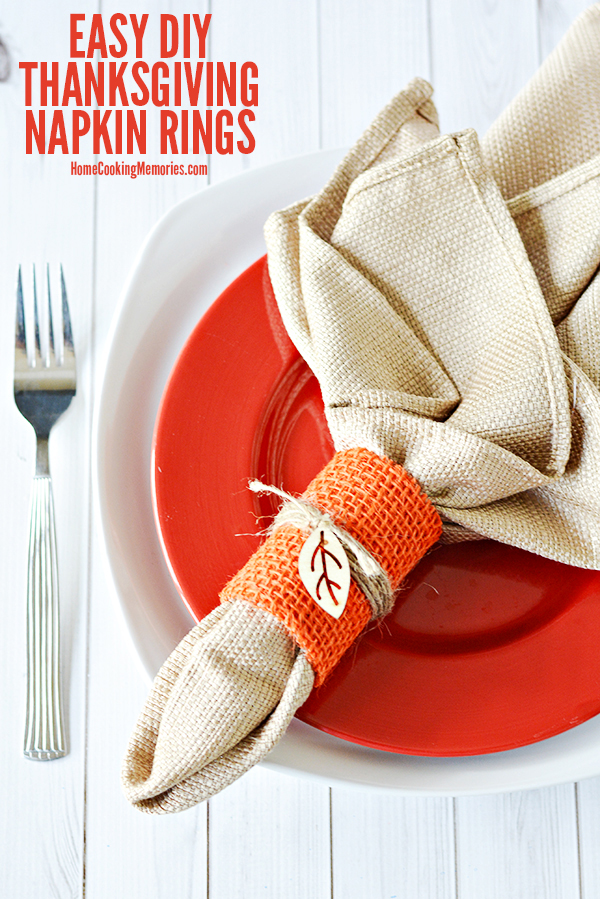
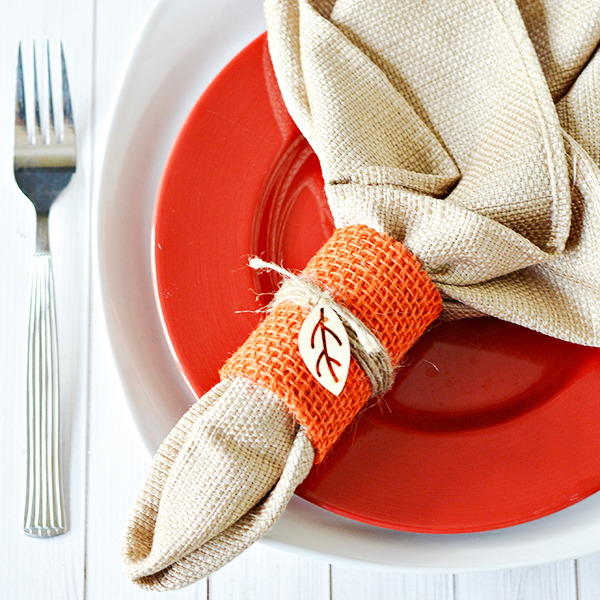
These Easy DIY Thanksgiving Napkin Rings are frugal to make and you’ll only need a few supplies: an old paper towel tube, burlap, twine, and wooden leaves.
This post contains some affiliate links for your convenience. Click here to read our full disclosure policy.
Even if you don’t set a formal table most of the year, chances are you do like to have a festive table for the holidays, such as Thanksgiving. Once you have the essentials — plates, utensils, glasses, and napkins — you can take your Thanksgiving table up a notch by adding decorative items such as napkin rings, place cards, centerpieces, candles, and more.
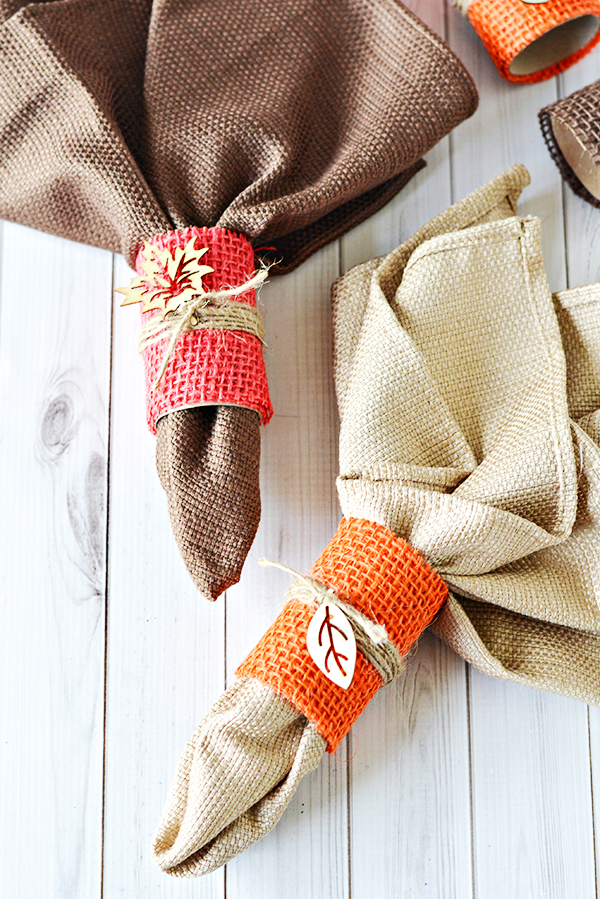
Napkin rings can be one of the easiest ways to add flare to your table. You can purchase some great napkins quite inexpensively, but if you are are someone who likes to show off your creative side, there is lots of ways you can make your own napkin rings. With Thanksgiving being one of the biggest meals of the year, why not make your own easy DIY Thanksgiving Napkin Rings? With just a few supplies, you can make napkin rings that will look beautiful at your place settings.
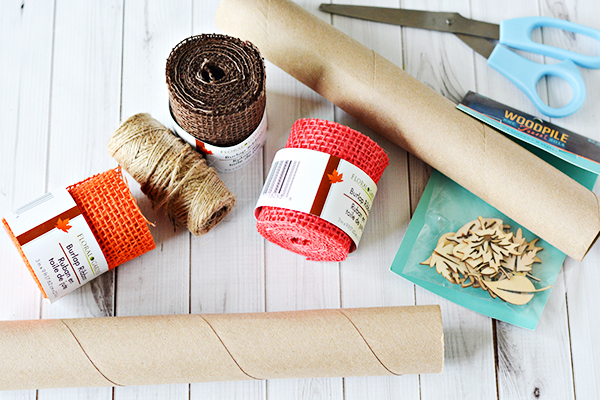
Easy DIY Thanksgiving Napkin Rings Supplies:
- 1 Cardboard Paper Towel Tube
- 3″ Burlap Ribbon (can be found at Dollar Tree too)
- Twine (can be found at Dollar Tree too)
- Small Wood Leaves (such as Woodpile Leaves Item 1096692 from Hobby Lobby)
- Hot Gun & Glue Sticks
- Scissors
- Ruler
- Pencil or Pen
Easy DIY Thanksgiving Napkin Rings Steps:
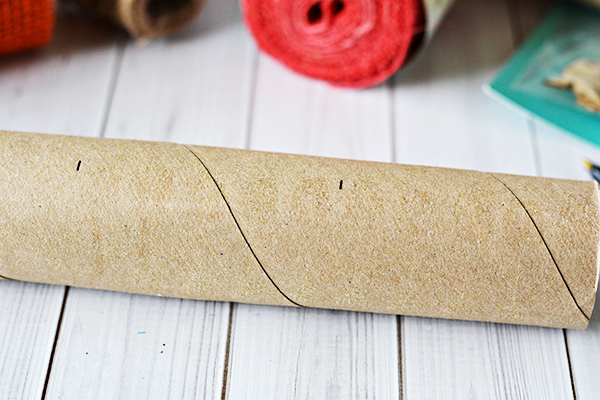
To make your own easy DIY Thanksgiving Napkin Rings, you’ll first measure your paper roll into 2.75″ increments and mark the measurements with a pen or pencil. Cut at your markings — your one paper towel tube should give you four sections (four napkin rings). Trim uneven ends if necessary.
Wrap burlap around the paper tube twice. We would recommend having the burlap lay just slightly beyond the cardboard tube so it won’t show. Secure burlap in place with hot glue.
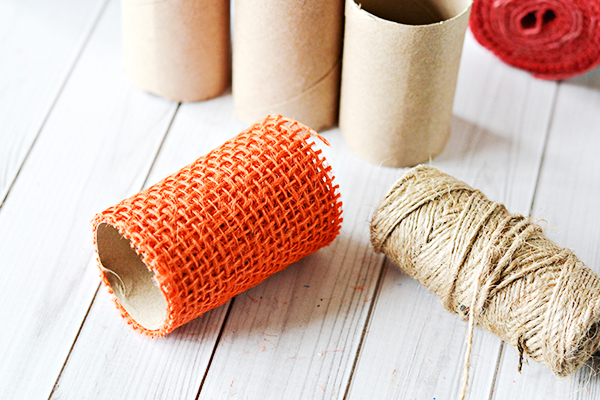
Wrap twine around each piece of burlap about 6-10 times. Tie a knot to secure the twine in place. Take one of your wood leaves and place the leaf onto the twine and tie it around the stem of the leaf. We recommend securing with a bit of hot glue too.
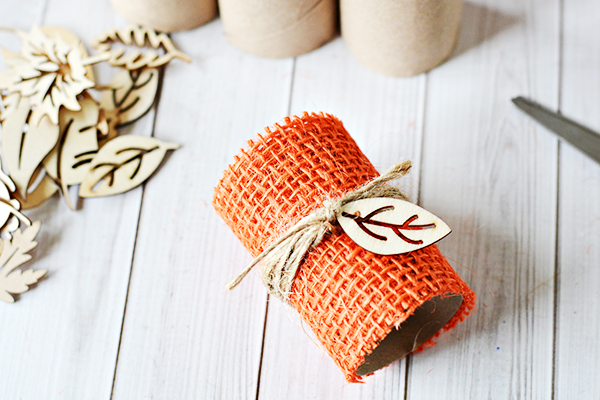
Continue repeating these steps until you have the desired number of napkin rings.
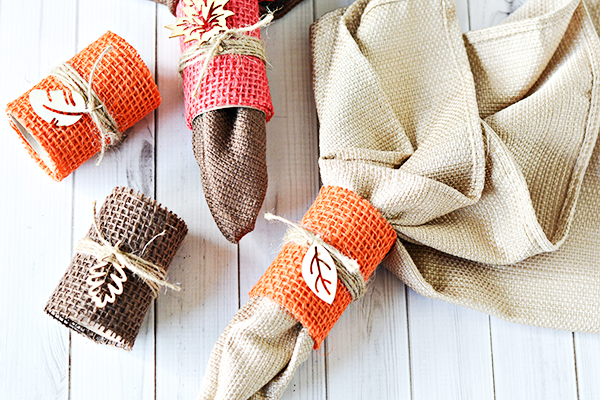
There is lots of napkin folds you can use to add your napkin into your easy DIY Thanksgiving Napkin Rings. The easiest way is to find the center of your cloth napkin and pinch in the middle and hold your napkin up, allowing the napkin to fall & fold naturally.
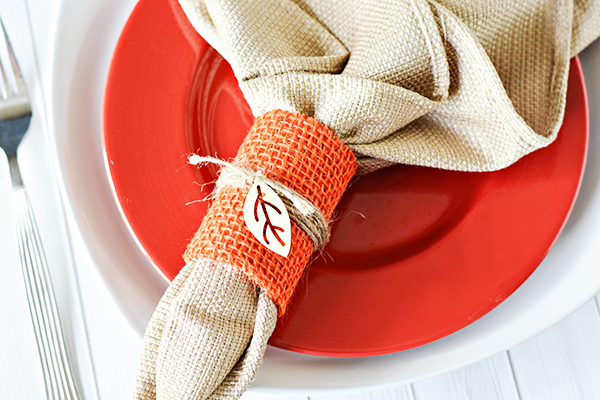
While holding the napkin napkin ring in one hand, slide the napkin ring over the pinched end and pull your napkin through so the pinched end is fully through. Pull your napkin though so that your napkin rings is holding the napkin securely. If your napkin is very thick, you may not be able to pull it through as far as we have shown, but adjust as necessary.
When you’re finished, you’ll have a set of easy DIY Napkin Rings that you can use for Thanksgiving dinner or any memorable dinner during the autumn months. If you make this project, be sure to take a photo and tag us on Instagram!
Manicure tools says
Awesome! Its in fact amazing article, I have got
much clear idea regarding from this piece of writing.
Sharon@BlueWillowHouse says
Love your napkin rings. Great tutorial. Thank you for sharing with us at Snickerdoodle.
Theresa@DearCreatives says
Awesome napkin rings DIY. Thanks for joining us at the Inspiration Spotlight party. Pinned & Shared.
mary says
How clever! I already have everything to make these too!
Antonella | White House Crafts says
These are so pretty! I’ll have to do something like it next year. I hope you will share with us at The Crafty Corner link party. Thank you for the inspiration.
Beverly says
Your napkins rings are very pretty. I love the pop of color. Thanks for sharing at Snickerdoodle. Pinning.
Melinda says
This is so elegant, not to mention easy!! I have to have easy, too lazy for complicated!!
2 usesTuesday
Jamie says
Those are adorable! I have so much of the items in my craft closet, I can get to work soon! 🙂
creativejewishmom/sara says
Really gorgeous and so simple! Almost bought some of that burlap ribbon at Walmart on my last trip to the US but didn’t know how I’d use it, so thanks for the inspiration and for sharing on craft schooling sunday!