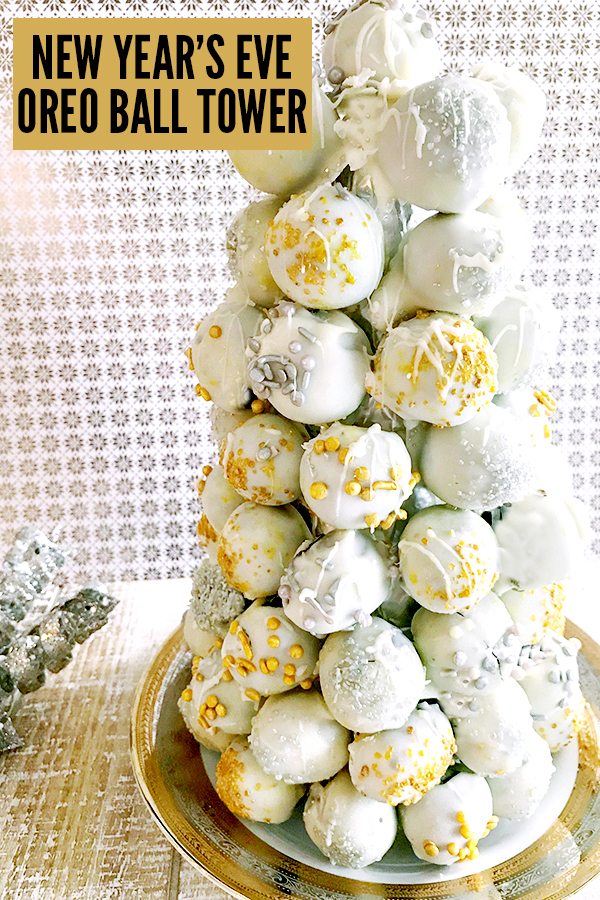
Soar into the New Year with this New Year’s Eve OREO Ball Tower!
This post contains some affiliate links for your convenience. We receive a commission if purchases are made through our links to retailers. Click here to read our full disclosure policy.
What is an OREO Ball?
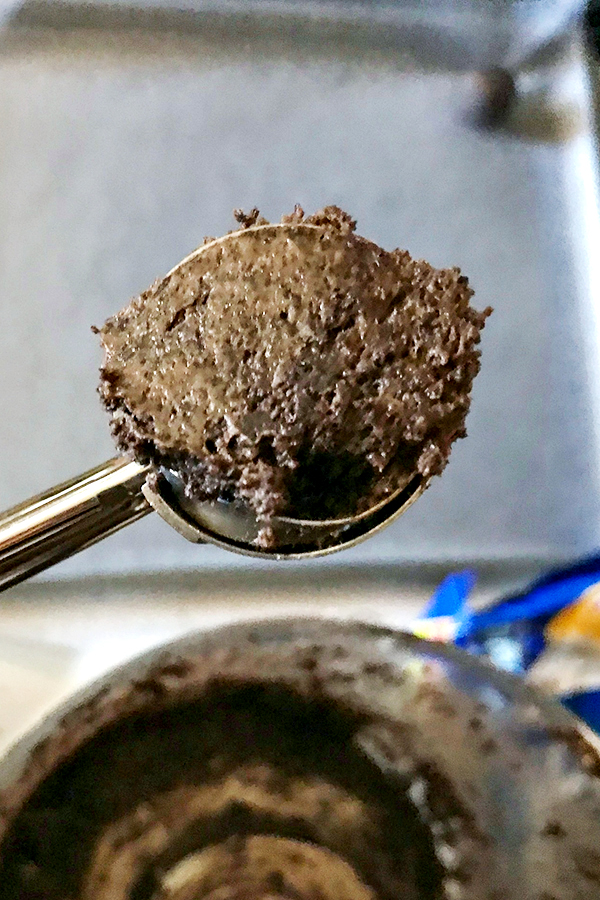
An OREO Ball is a no-bake, bite-size dessert, sometimes called an OREO Truffle. It’s made out of crushed OREO cookies, which are usually mixed with cream cheese. That mixture is scooped and shaped into small balls which are usually dipped into melted chocolate or candy coating and decorated.
How Do You Decorate OREO Balls?
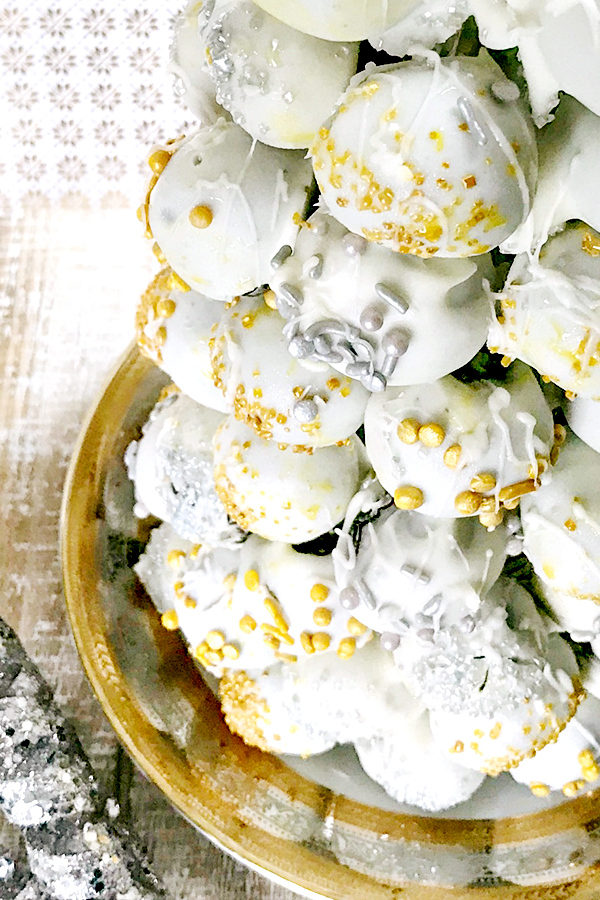
OREO Balls can be decorated to fit any theme, just by changing up the colors of the decorations. For example, for our New Year’s Eve OREO Balls, they use gold and silver decorations.
After OREO Balls are dipped in melted chocolate or candy melts, you can sprinkle and decorate your OREO Balls with your choice of colorful edible decorations. Some of the most common items used for OREO Ball decorations are:
Ingredients Needed for OREO Ball Tower:
- Cream Cheese (8oz)
- OREO Cookies (36 Cookies)
- White Chocolate Chips or White Chocolate Melts
- Chocolate Drizzles
- Sprinkles (jimmies, nonpareils, sugars, etc.)
- Edible Glitter
- Food Coloring Spray (such as Wilton Color Mist)
Cooking Equipment Needed for OREO Ball Tower:
How to Make an OREO Ball Tower
Decorated OREO Balls, along with a few other supplies, are all that you will need to make an OREO Ball Tower.
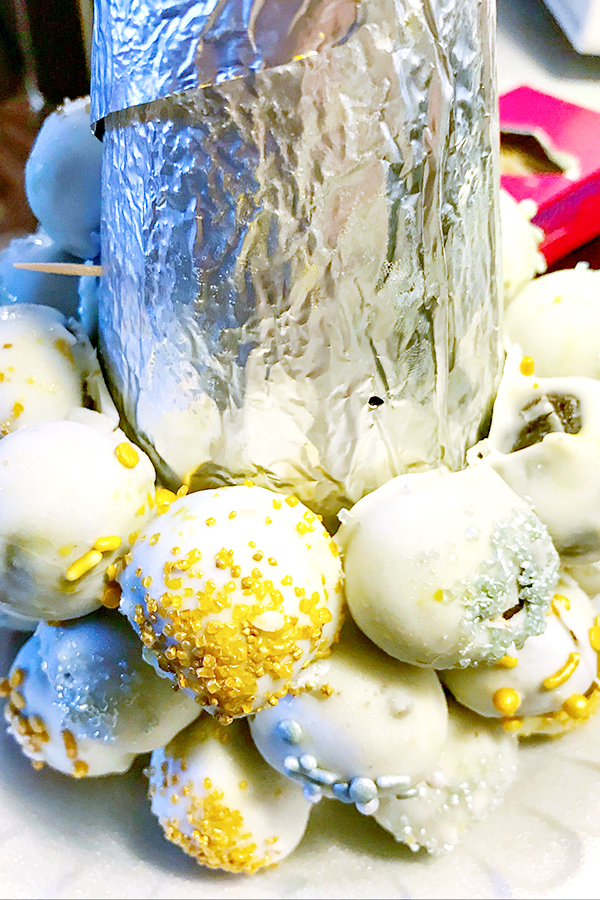
After your OREO Balls are made, you’ll need to prepare a craft foam cone for the tower. The size of the styrofoam cone depends on how many OREO Balls you have or how big or small you want it to be. A 3.7″ x 8.9″ cone should work well.
If your styrofoam cone doesn’t have a flat top, you’ll want to start by cutting off a bit of the top of the cone to create a flat spot that will make the perfect spot for the very top OREO Balls. Then, cover the cone with foil or Glad Press’n Seal Wrap.
Starting near the bottom, press a toothpick into the cone halfway. Then, press an Oreo Ball onto the toothpick. Repeat the process, working around the cone in a circular pattern to create the bottom layer. Start your second layer, following the same steps, but do your best to make sure that each Oreo Ball is nestled in the spaces in between two Oreo Balls on the layer below (rather than directly on top of another Oreo Ball on the layer below). Continue to work around the cone, adding new layers until you reach the top.
Note: As you place Oreo Balls closer to the top, you might need to shorten the toothpick by cutting a portion off.
Place one final Oreo Ball at the very top, on the flat top of the cone.
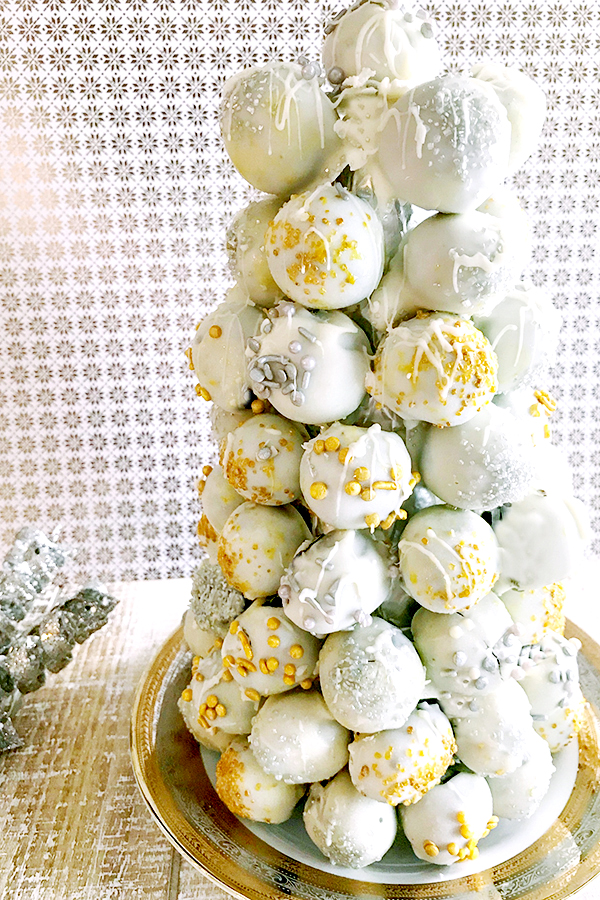
New Year’s Eve OREO Ball Tower
Ingredients
1 package cream cheese (8 ounces), softened
36 OREO Cookies
4 ounces white chocolate morsels or vanilla almond bark
Gold and silver sprinkles
Large styrofoam cone
Toothpicks
Aluminum foil or Glad Press-n-Seal Wrap
Instructions
1. Place OREO Cookies in a food processor. Pulse until the cookies become fine crumbs. Add the softened cream cheese and pulse until combined with the cookies and a ball forms.
2. Using a small cookie scoop, portion the cookie mixture into 1 inch balls. Roll into smooth balls in your hands. Place on a baking sheet covered with wax paper.
3. When all balls are prepared, place them in the freezer for at least 1 hour.
4. Melt white chocolate or vanilla almond bark in the microwave, according to package instructions. Do not overheat.
5. Dip the OREO Balls in the melted chocolate and place on waxed paper. Immediately add sprinkles before the chocolate hardens. Refrigerate or freeze until completely set, at least one hour.
6. Wrap the styrofoam cone by covering it with aluminum foil or Glad Press’n Seal plastic wrap.
7. Starting at the bottom and working around the cone in a circular pattern, press a toothpick into the cone at about halfway. Then, press an Oreo Ball onto the toothpick. Continue working until the cone is covered. Note: As you place Oreo Balls closer to the top, you might need to shorten the toothpick by cutting a portion off.
- Category: Desserts
Leave a Reply